

A tortoiseshell acrylic chain bracelet

" It's time to get down to business :D . I'm going to show you how to make a trendy bracelet.
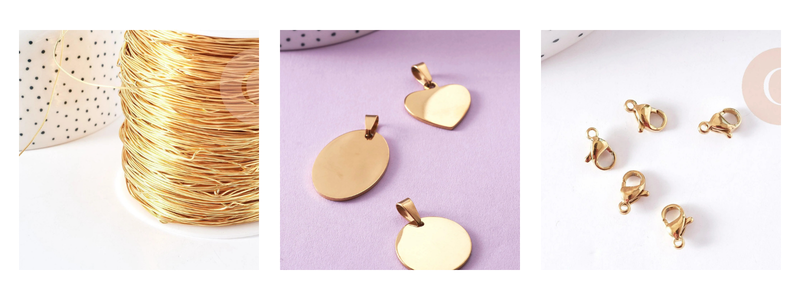
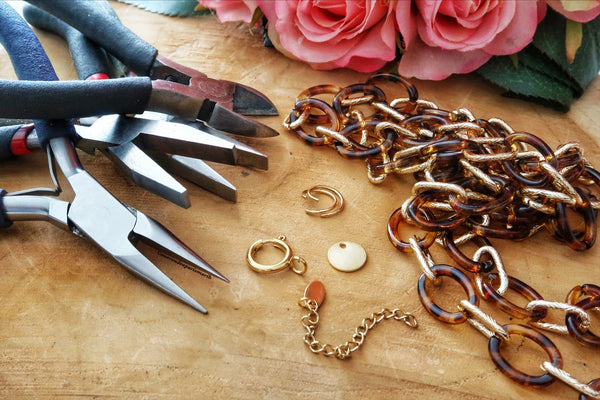
To get started, grab your pliers and the materials you'll need.
My tip: I prefer to use two flat, smooth-jaw pliers rather than one flat plier and one fine flat plier. Since the rings are larger, you need to hold them securely without hurting yourself. However, you can do it with basic pliers.
Step 1: Take the chain and wrap it around your wrist to measure it.

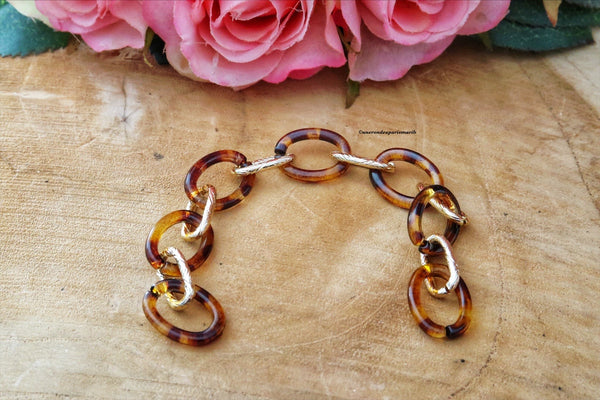


My advice when cutting or separating links: if the links are unsoldered, allow at least 1 cm to be removed to make room for the clasp and the extension chain. For example: if your wrist measures 14 cm, cut the chain to 13 or even 12 cm.
Step 2: I take my two flat, smooth-jaw pliers (or the flat plier and the fine flat plier) and open my jump ring, tilting my right hand towards me. You can review the technique in the tutorial "opening and closing a jump ring".
I get my chain.
Another way to do it is to take a piece of thread or cord. Then wrap it around your wrist. Then measure the cord with your ruler, laid flat. You will know the correct measurement. Don't forget to remove at least 2 cm when cutting to place the clasp and the extension chain.
Step 3: take a jump ring and open it. Pass your jump ring through the chain and the extension chain.
Step 4: then, you must close it. If you don't know how, refer to the tutorial "opening and closing a jump ring" on our blog. Do the same on the other side by opening your jump ring, threading the clasp and the chain.
Step 5: interchange the tag at the end of the extension chain to replace it with a prettier one.

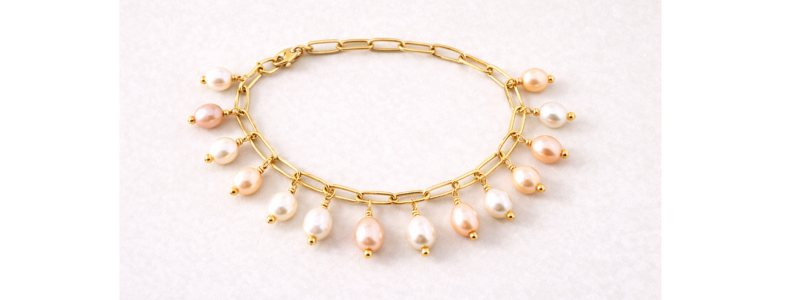
Your trendy bracelet is finished. You can wear it daily.
See you soon for a new tutorial!